When it comes to social media management, a lot of us are in over heads. But, we don’t have to be. Below is a comprehensive guide to social management. Including the design of your social post (in this case for Facebook) and posting of it. Included is the mention of some of the best social media management tools and social media marketing tools. After this, you will be on your way to becoming a social media guru with no sweat!
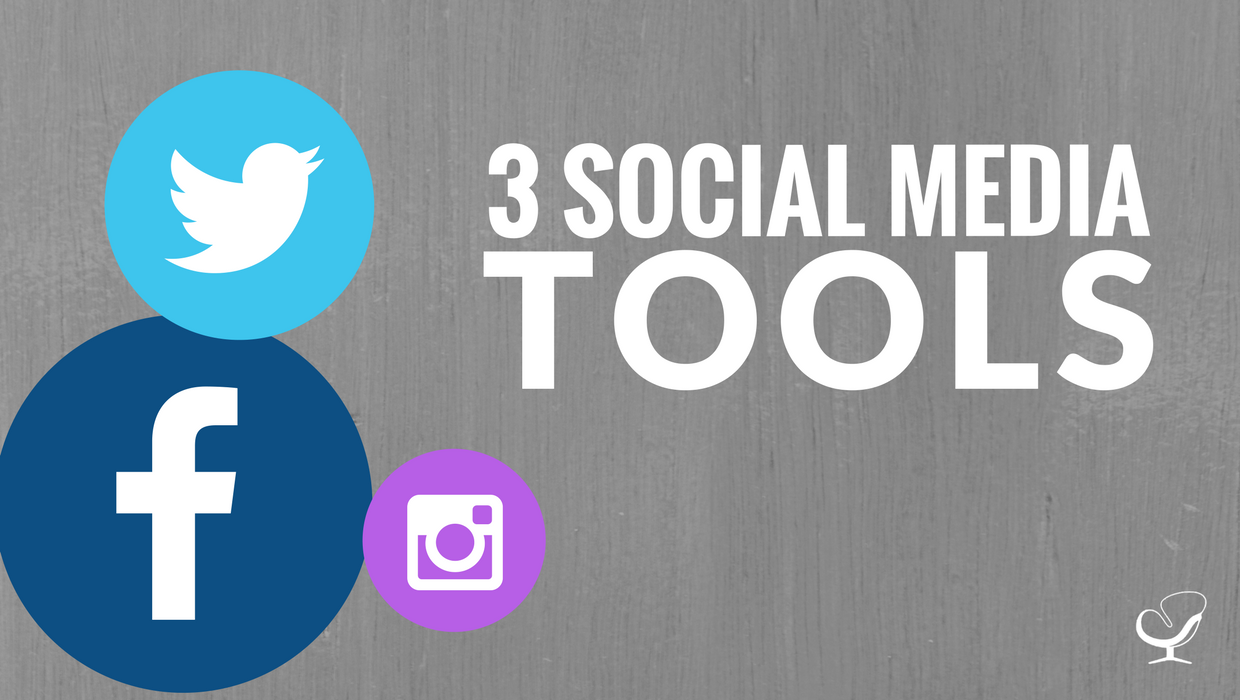
Social Media Tool One: Unsplash
Unsplash.com is a free image download website with high-quality images across a variety of topics. Once there, type what you are looking for into the search bar. Try to be as vague as possible in order to have a wide selection of images to choose from.
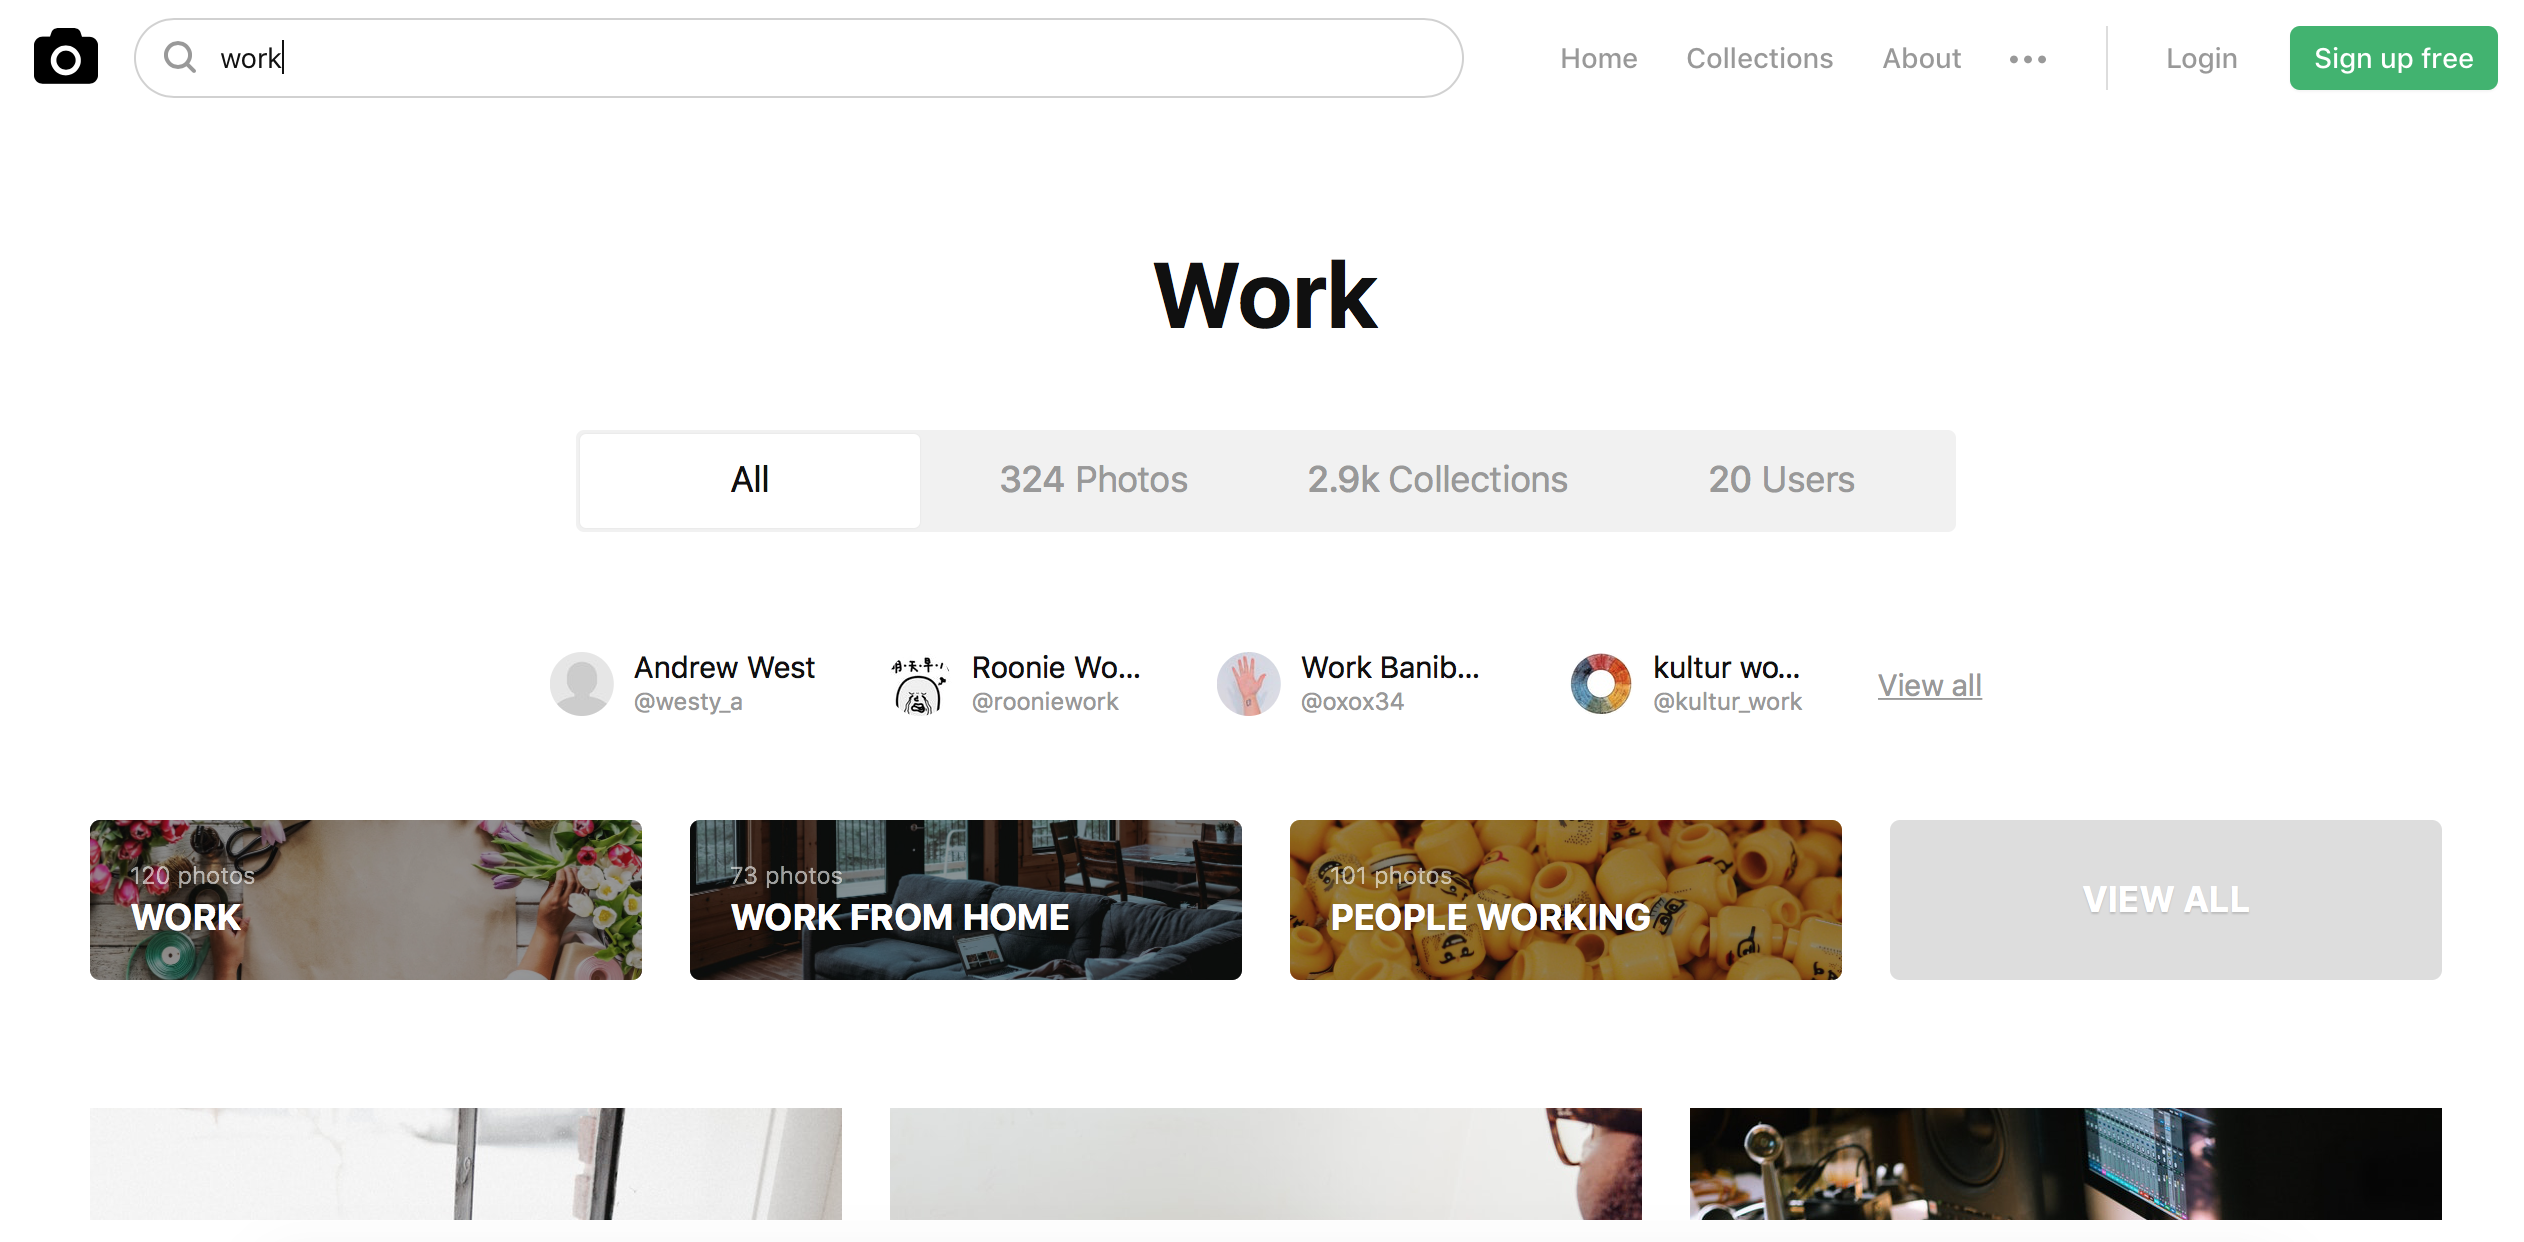
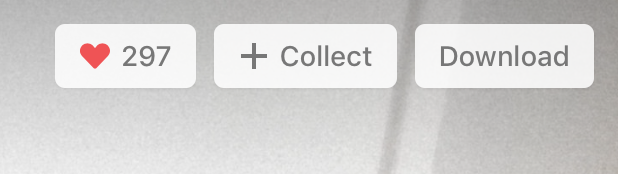
When selecting an image, ensure it is relevant to your topic. Other aspects to be on the lookout for include open space to place text, colors, and whether the image is portrait or landscape and if this suits your end sizing. Once you’ve decided on an image, click on it and then click the ‘Download’ button in the top right corner.
Social Media Tool Two: Canva Template
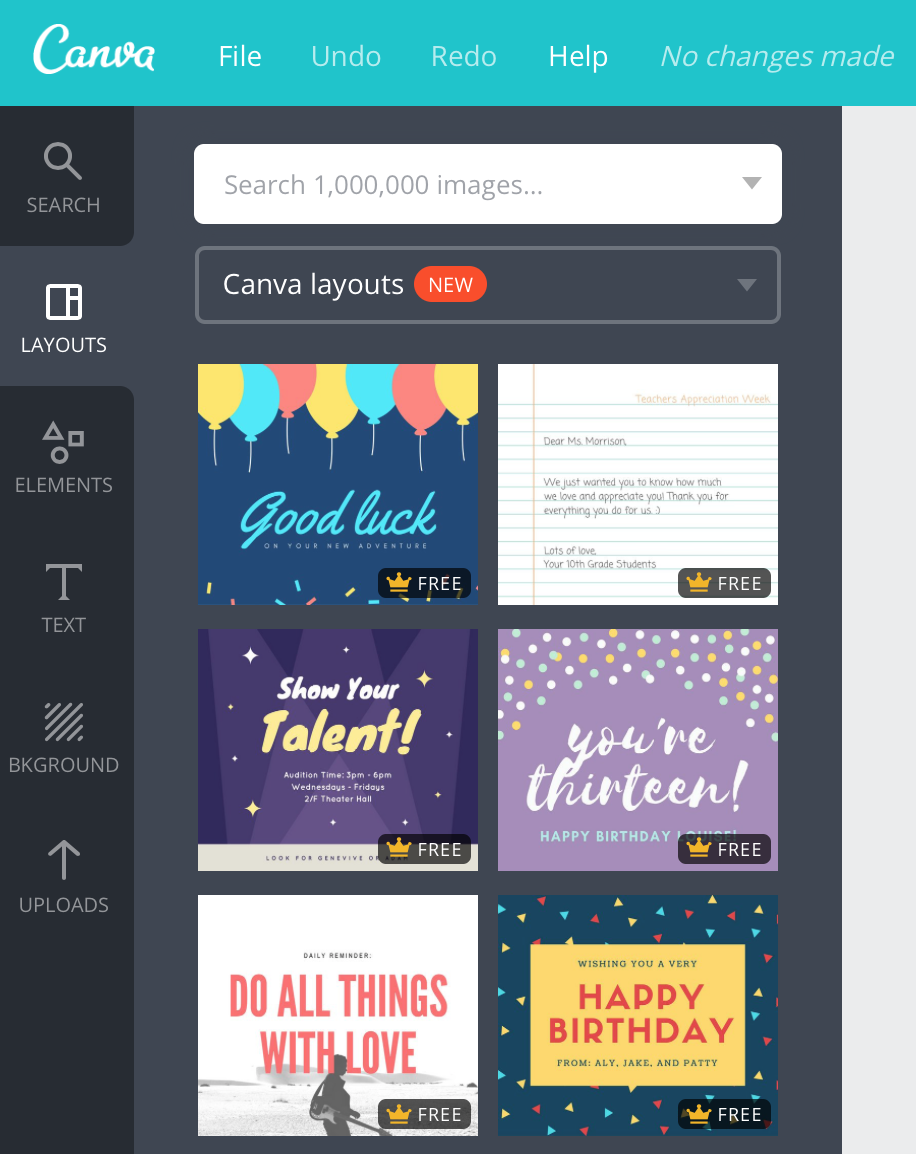
Canva.com is an easy-to-use design platform that allows you to put together social posts, blog images, and a number of other creations in minutes. Furthermore, it’s a free tool and once you’ve signed up, you will be confronted with all the design options on offer.
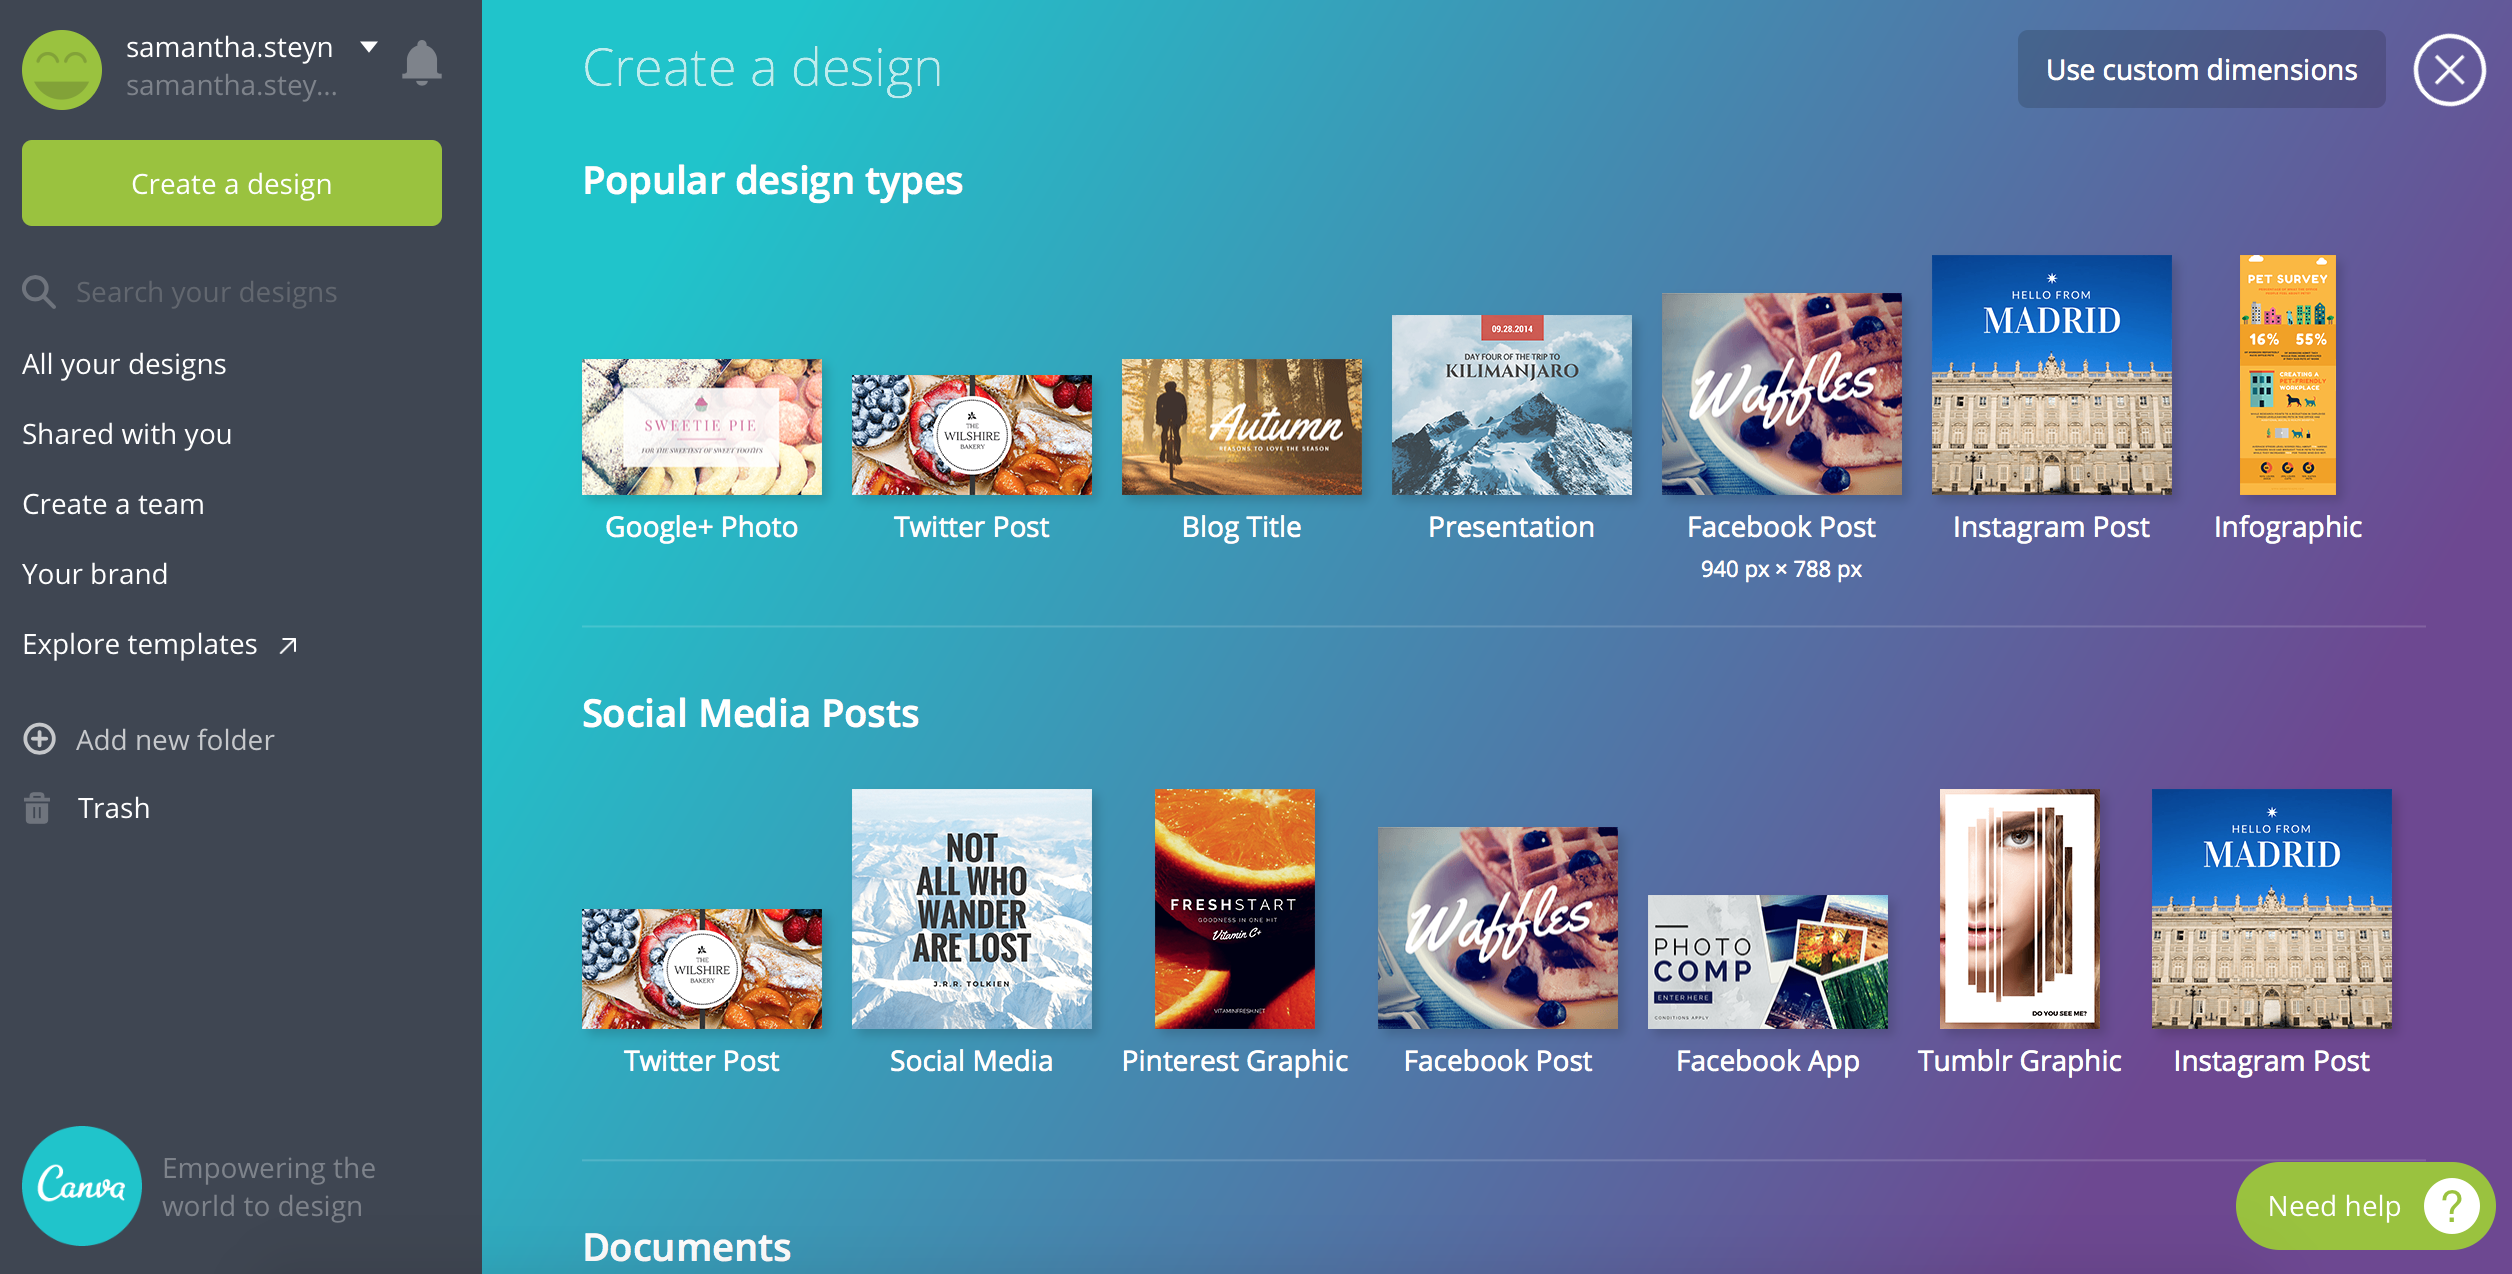
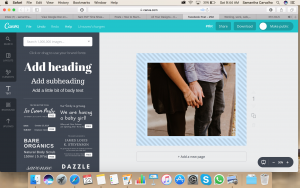
For the purposes of this blog, I selected the Facebook post. Once on the Facebook post design page, I selected ‘Layouts’. These are ready-made templates designed for a Facebook post. Something to keep in mind is the free versus paid icons on the bottom right corner of each layout. If, however, you see a dollar sign on a layout you really like, you can still use the layout but will just need to replace the image.
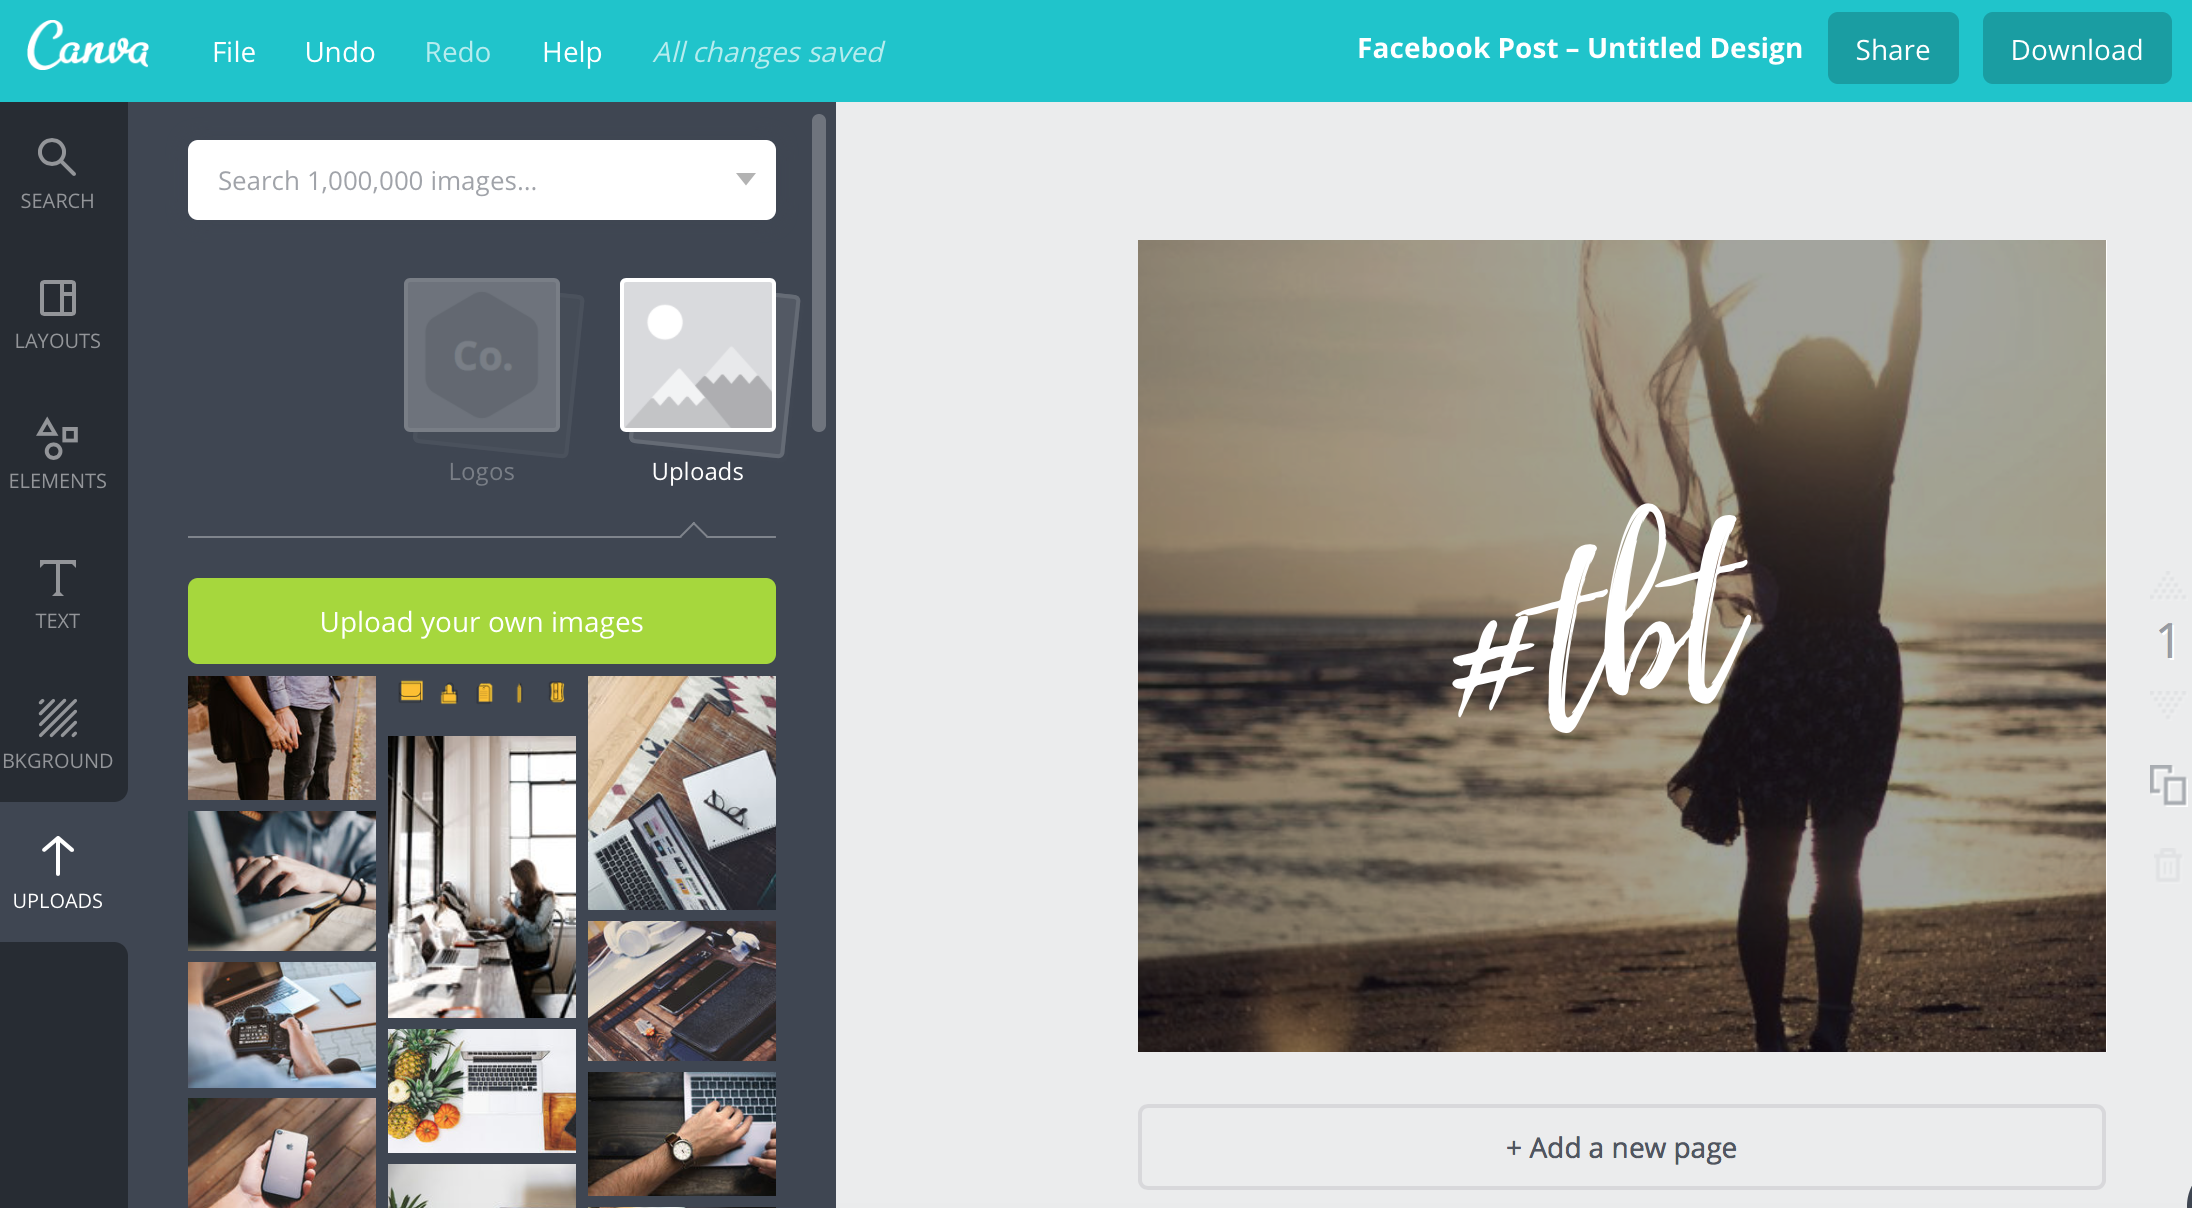
Once you have selected a layout you like, you will need to load your image – that you downloaded from Unsplash – and drag it into the layout until it replaces the current image. You will notice that it automatically takes on the styling of the current image. To upload your image, click on ‘Uploads’ and then ‘Upload your own images’.
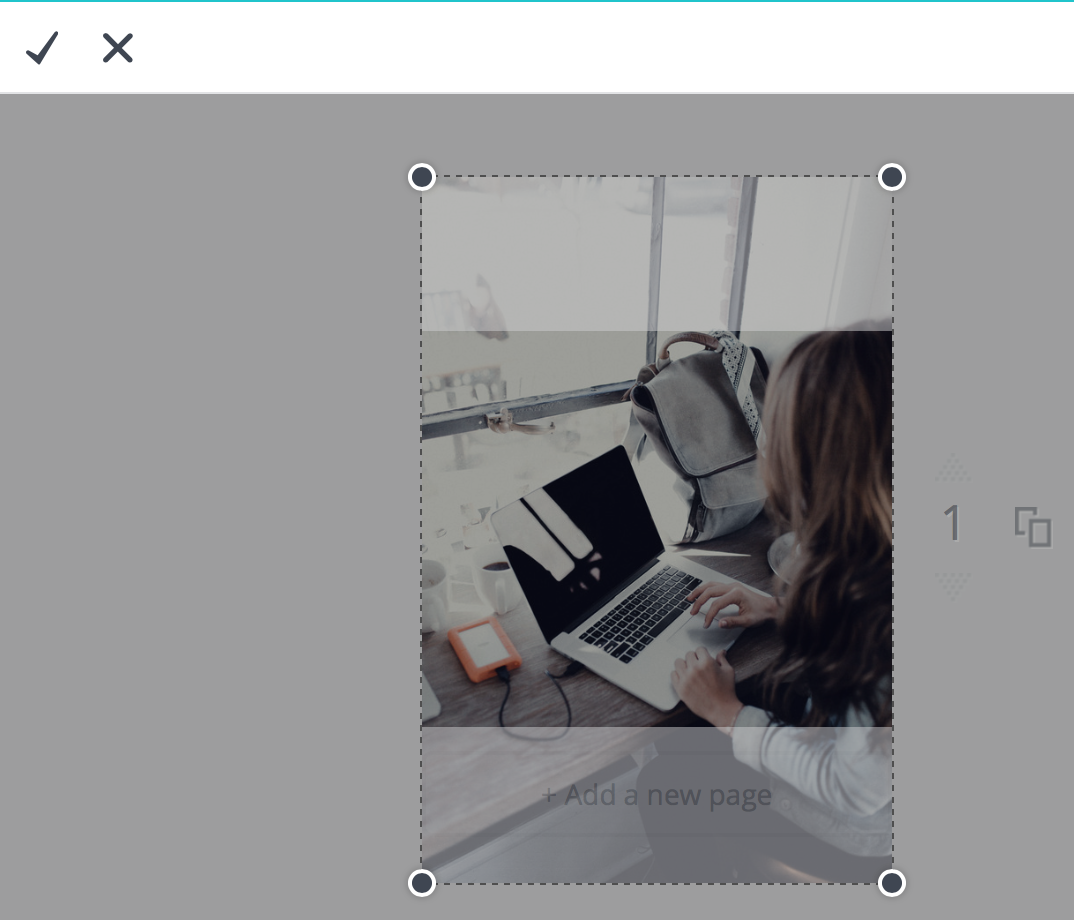
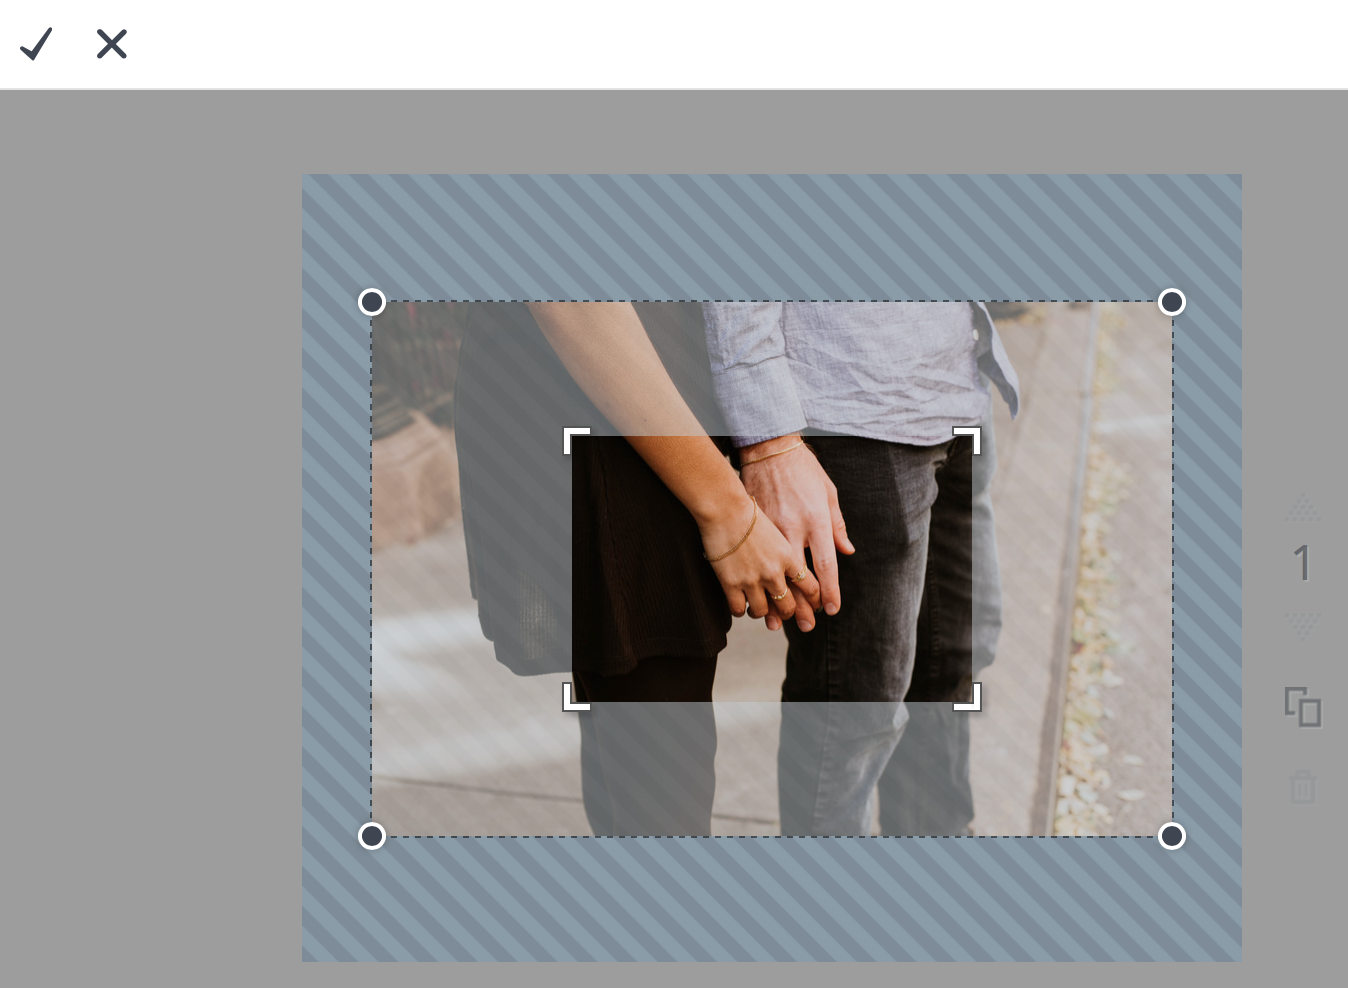
If you want to increase the size of the image, or move it more to the left or right, double click the image, and then drag the corners to resize / move the image as desired. Once you are done, click on the tick on the top left corner, or the cross if you want to go back to how it was. You may want to zoom out slightly before doing this to have a better viewpoint. Use ‘cmd’ + ‘-‘ on MAC and ‘ctrl’ + ‘-‘ on Windows to do this.
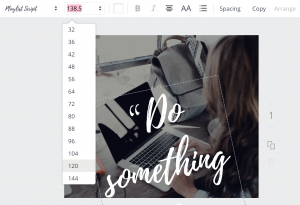
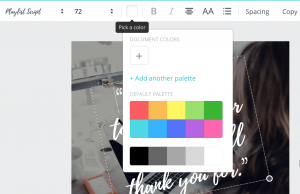
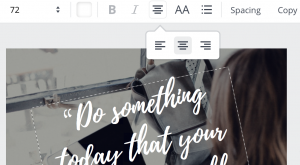
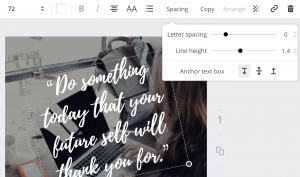
Once you’re happy with the placement of the image, select the text box and copy and paste your text over the current text. From here, you can fiddle with the sizing, color, format (i.e.: bold / italic), alignment, list, and spacing of the image. All these icons are visible on the top bar once you’ve selected the text. Play around with these until you are happy with how it looks.
A best practice associated with social posts for brands is to always include your logo. This is for is people choose to share your image, you want your branding to go along with it. As such, always have a PNG version of your logo available, i.e.: with no background. Having this in white is always handy as well, but if you don’t want to abandon your brand colors, that’s ok too. Upload your logo into Canva and drag it onto your design. Another best practice is to place your logo on the bottom right corner of your design.

And, you’re done! Click ‘Download’ on the top right corner of your screen and select which format you would like to download your design in. Canva usually recommends the best format, which I would recommend too. This is PNG for Facebook posts which is a more than viable option.

Social Media Tool Two: Canva Manual
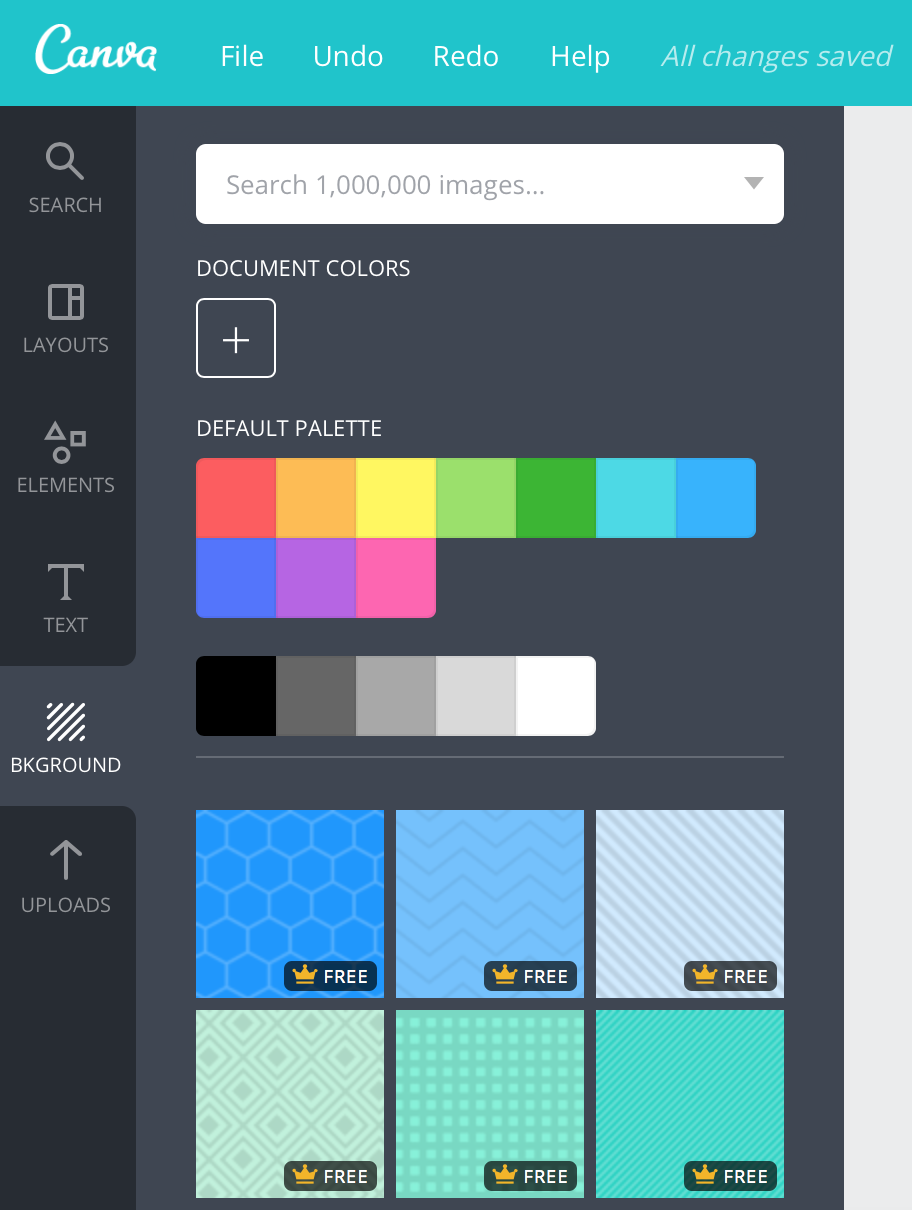
While choosing a template and simply replacing the elements with your own is super easy and convenient, for those of you who are more drawn to being creative, this may be less than satisfying. If this is you, than you can choose to rather take the manual root. Canva has various options available for you to create your own graphic from scratch. This includes a ‘Background’ – again, take note of the free versus paid icons.
Once you have your background in place, drag your chosen image onto the design and use the corners of the image to size it. If you want to crop the image, click the ‘Crop’ button on the top left of the window and use the four corners provided to highlight which part of the image you would like to remain. Once you’re satisfied, click the tick on the top right corner of the window.
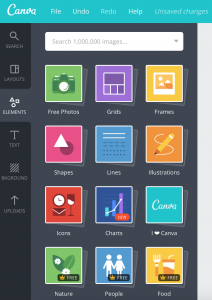
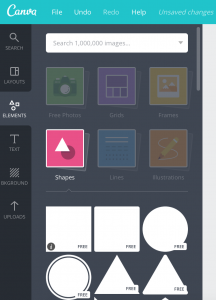
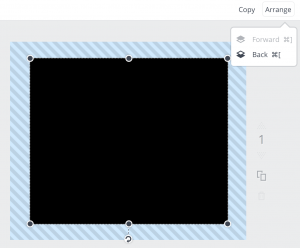
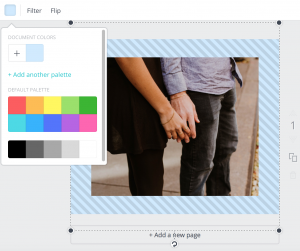
The ‘Elements’ section in Canva is the perfect playground for the budding designer. With free images (across various topics), grids (for different layout options), frames (to place images in), lines, illustrations, icons, and charts, you can stay entertained for hours. But, the key is to try and stay focused amidst all the creative temptation! Also, be aware of the free versus paid icons. For my design, I chose a square element and matched the color to the blue of the background (already present in my color chart) and placed this behind the image. To do so, I clicked ‘Arrange’ on the top right corner of the window.
Now, it’s time to add the text. By selecting the ‘Text’ category on the left, you will see a variety of different text templates. Some – if you scroll down – complete with frames / backgrounds. For the purposes of my design, I selected a somewhat simple text layout with three different fonts and copied and pasted my quote into each section.
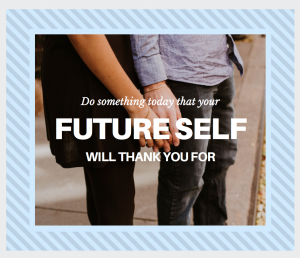
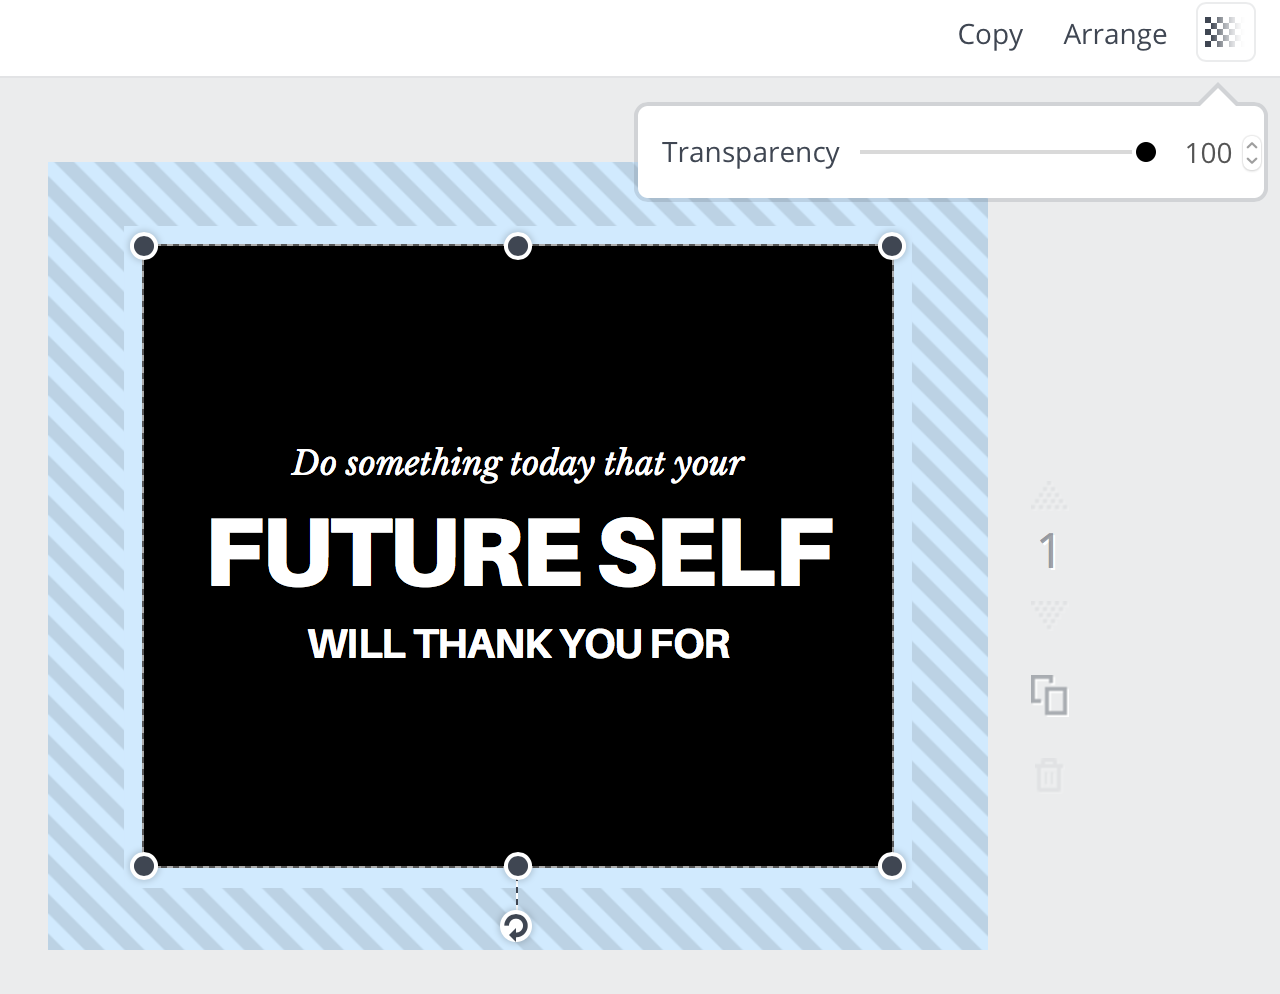
As you can now see, the white text with the image behind it is a bit difficult to read – especially over the skin area. In order to make the text clearer, I chose another square element but, this time, left it black and simply changed the transparency. First, I arranged it to go behind the text but over the image and then clicked checked square on the top right that goes from solid squares to transparent. I then set the transparency to 30% so that the text appears clearer, but you can still see the image.
Finally, on this design, I decided to include the logo and URL – another option to consider. For this, I once again used a white PNG version and placed it at the bottom, in the middle. Satisfied with my design, I downloaded it the same way I downloaded the previous one.

Social Media Tool Three: Hootsuite
Who has time to manually post social media posts everyday, twice a day? No one. Which is why, there are some great social media management tools available to help you with your social media scheduling. One of these is Hootsuite. Hootsuite is a free tool in which you can load your various social media accounts and add streams for each, i.e.: a newsfeed / scheduled posts / posts with your focused hashtag, etc. Hootsuite is a great social media scheduling tool that I myself use to schedule Instagram posts.
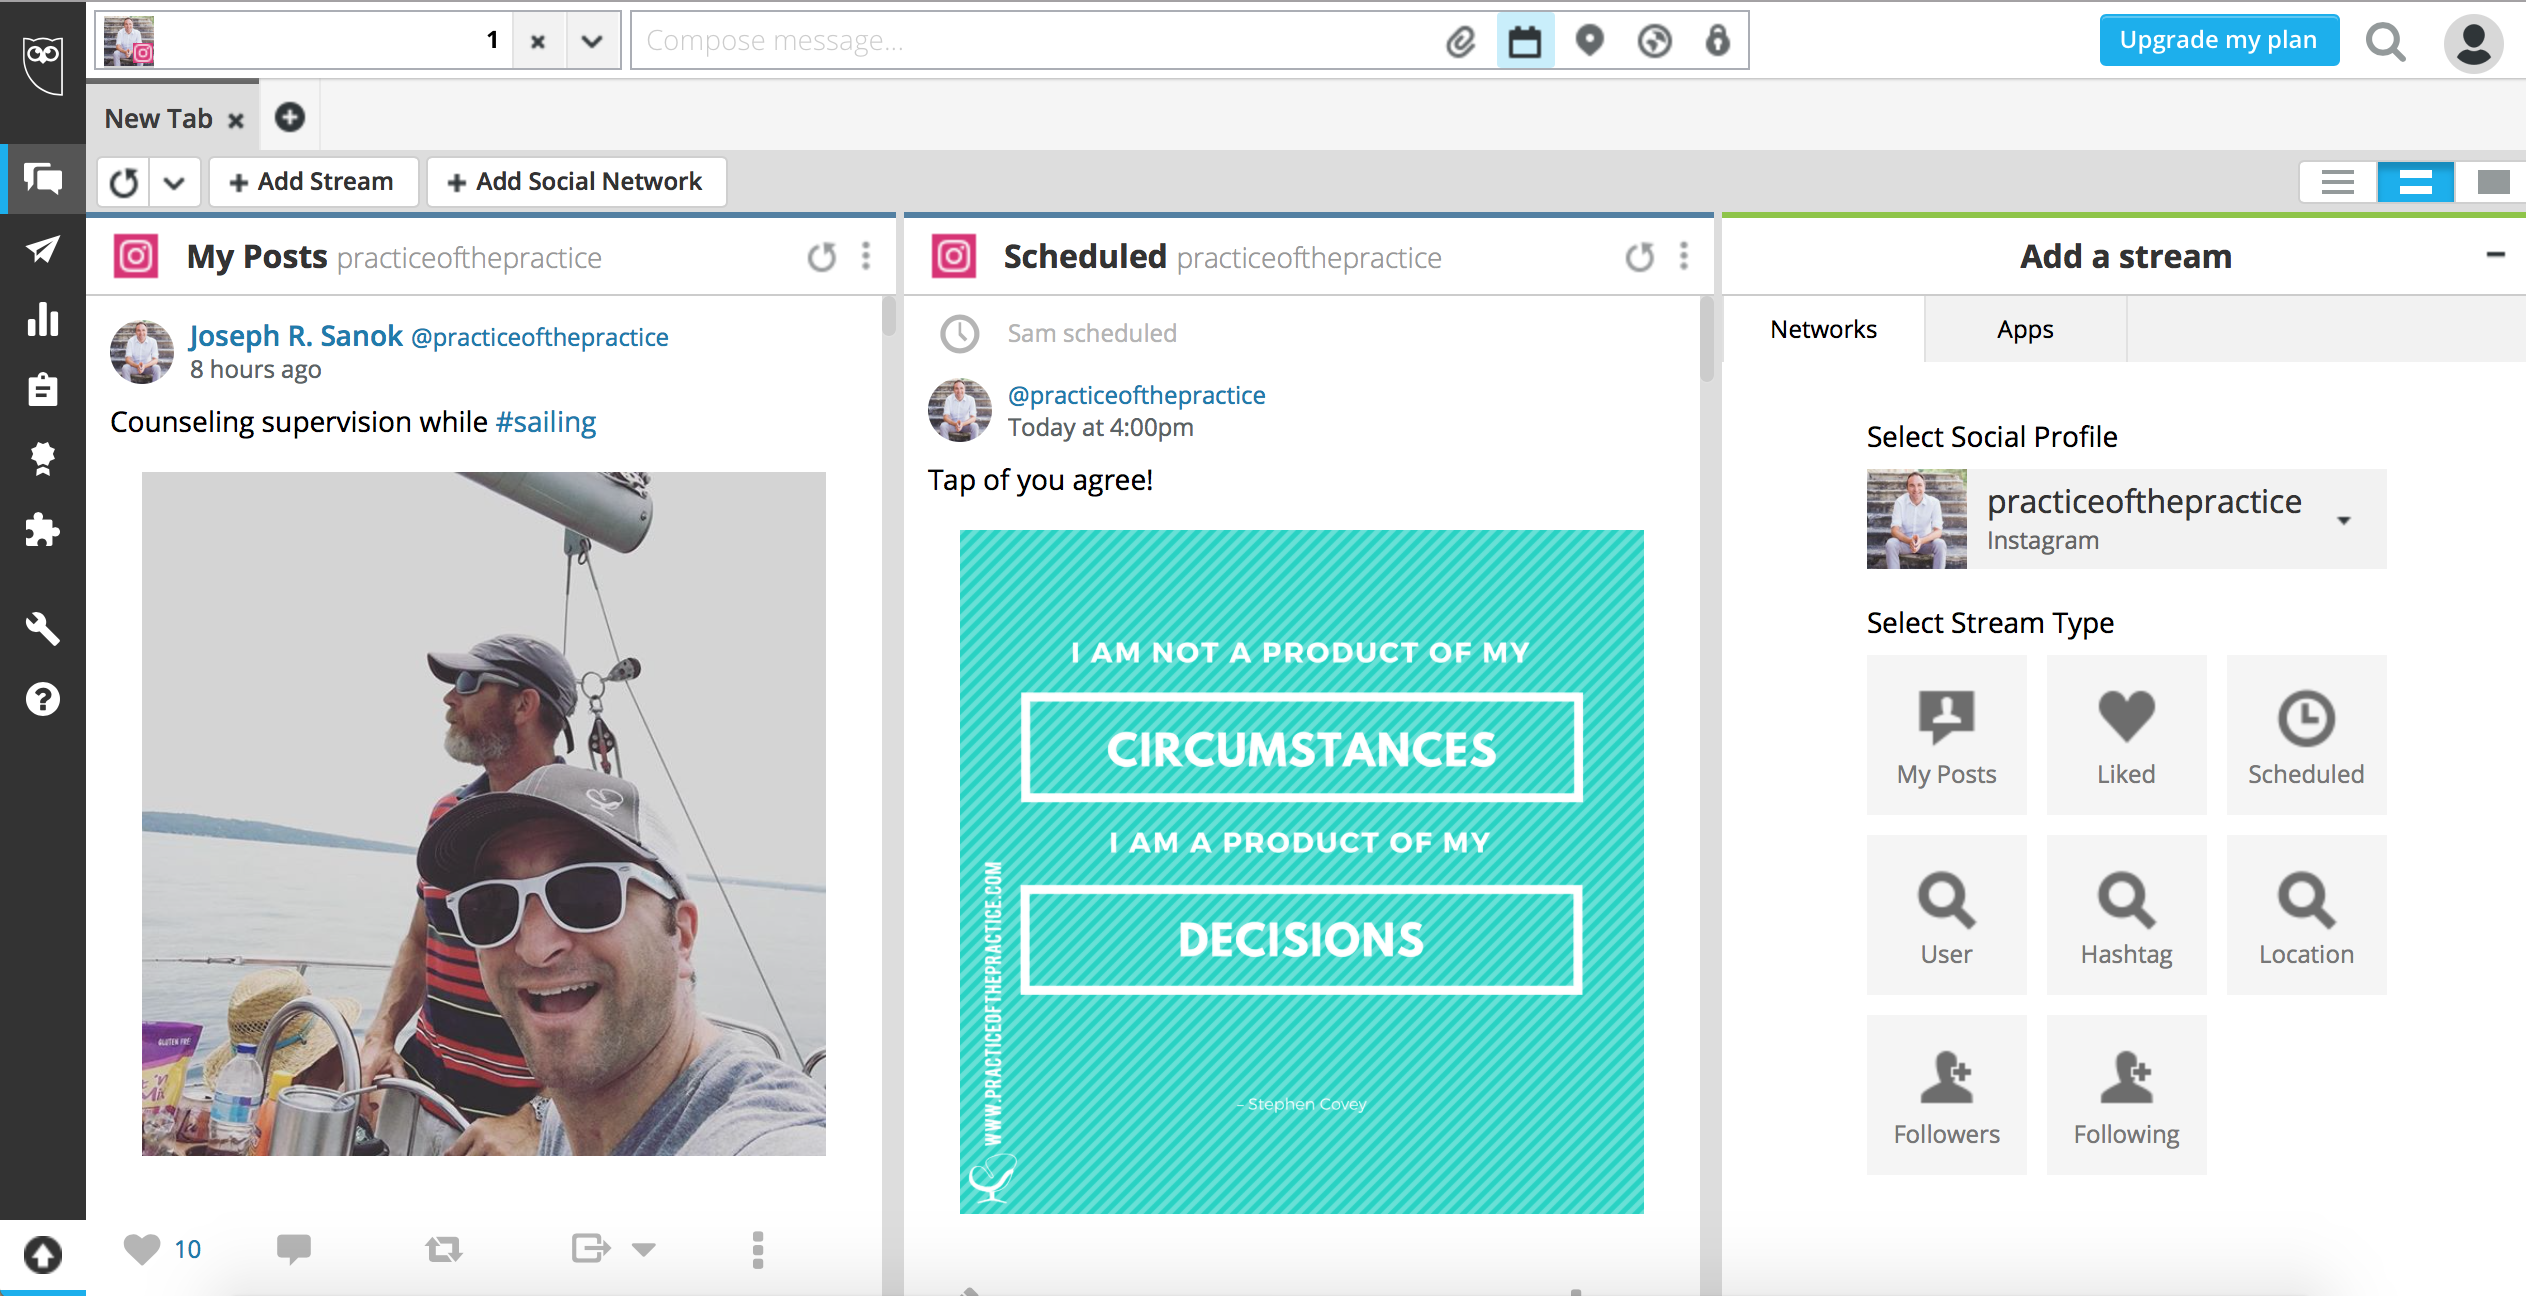
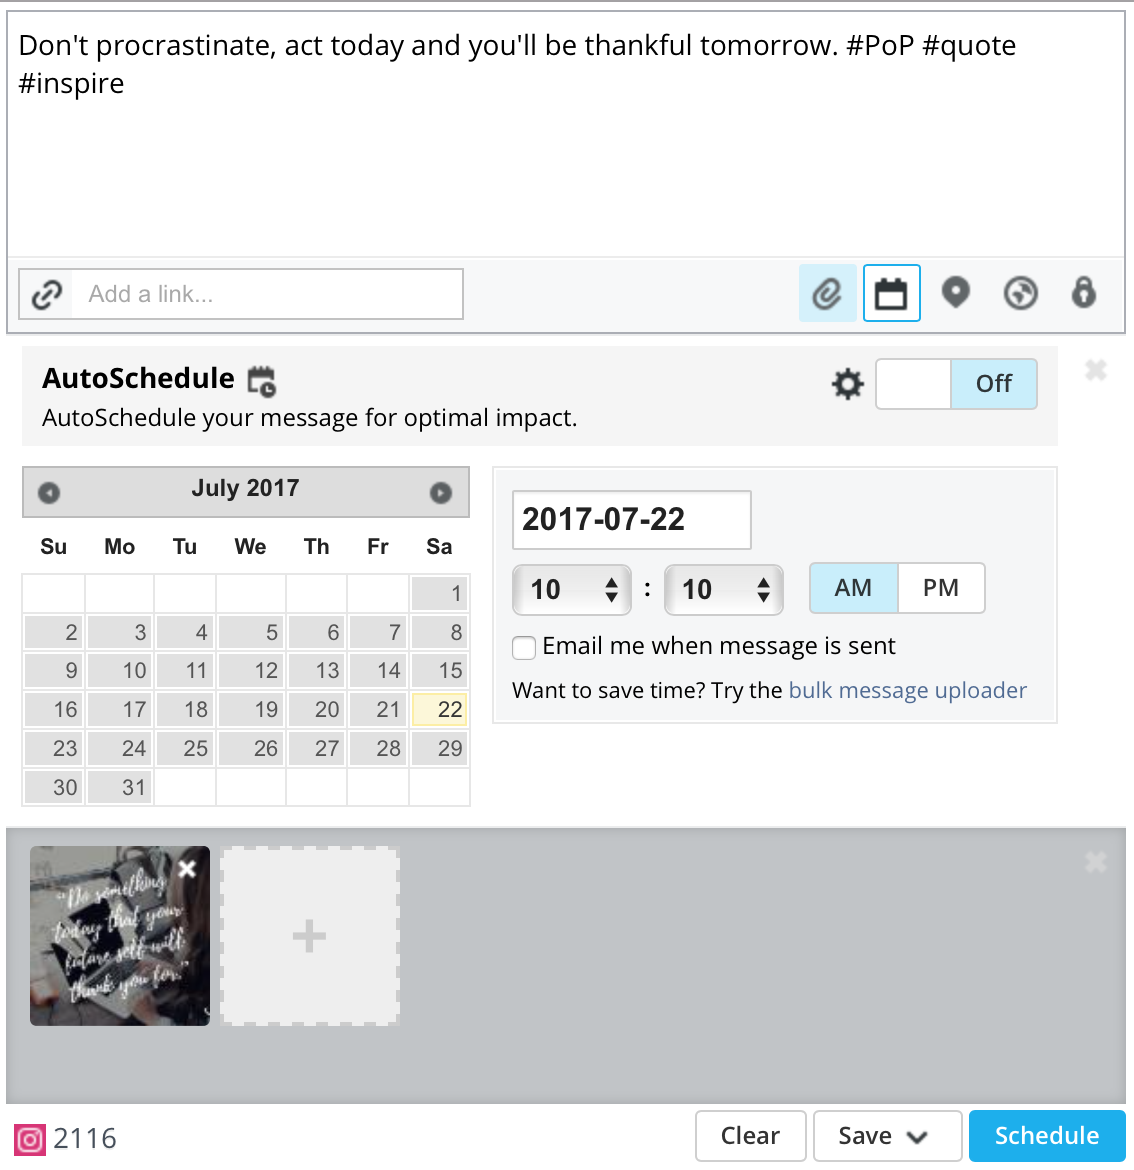
If you have multiple accounts loaded onto your Hootsuite, select which one you want to post on. I only have Instagram loaded but, in this case, you would select Facebook. Then, load your social post by clicking on the paperclip icon.
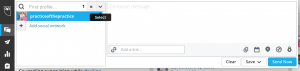
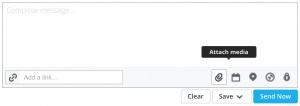
Then, add your description. Ensure that your description adds value over and above what the image says. Include relevant hashtags and a URL – if relevant. You can also tag relevant third parties, again, if relevant.
Now, click on the calendar icon to schedule your post for whichever future date you choose and click ‘Schedule’.
And there you have it! Not so bad, right?
 Samantha Carvalho is the Chief Marketing Officer of Practice of the Practice. She lives in Cape Town, South Africa, with her husband and kitten. Over and above Practice of the Practice, she is passionate about women empowerment, fashion, and animals.
Click here to outsource your marketing or contact Sam at [email protected].